I have a very ambitious plant to maximize my space for growing this year. In order to make the most of the earliest Spring light, I need to get my seeds started much earlier this time.
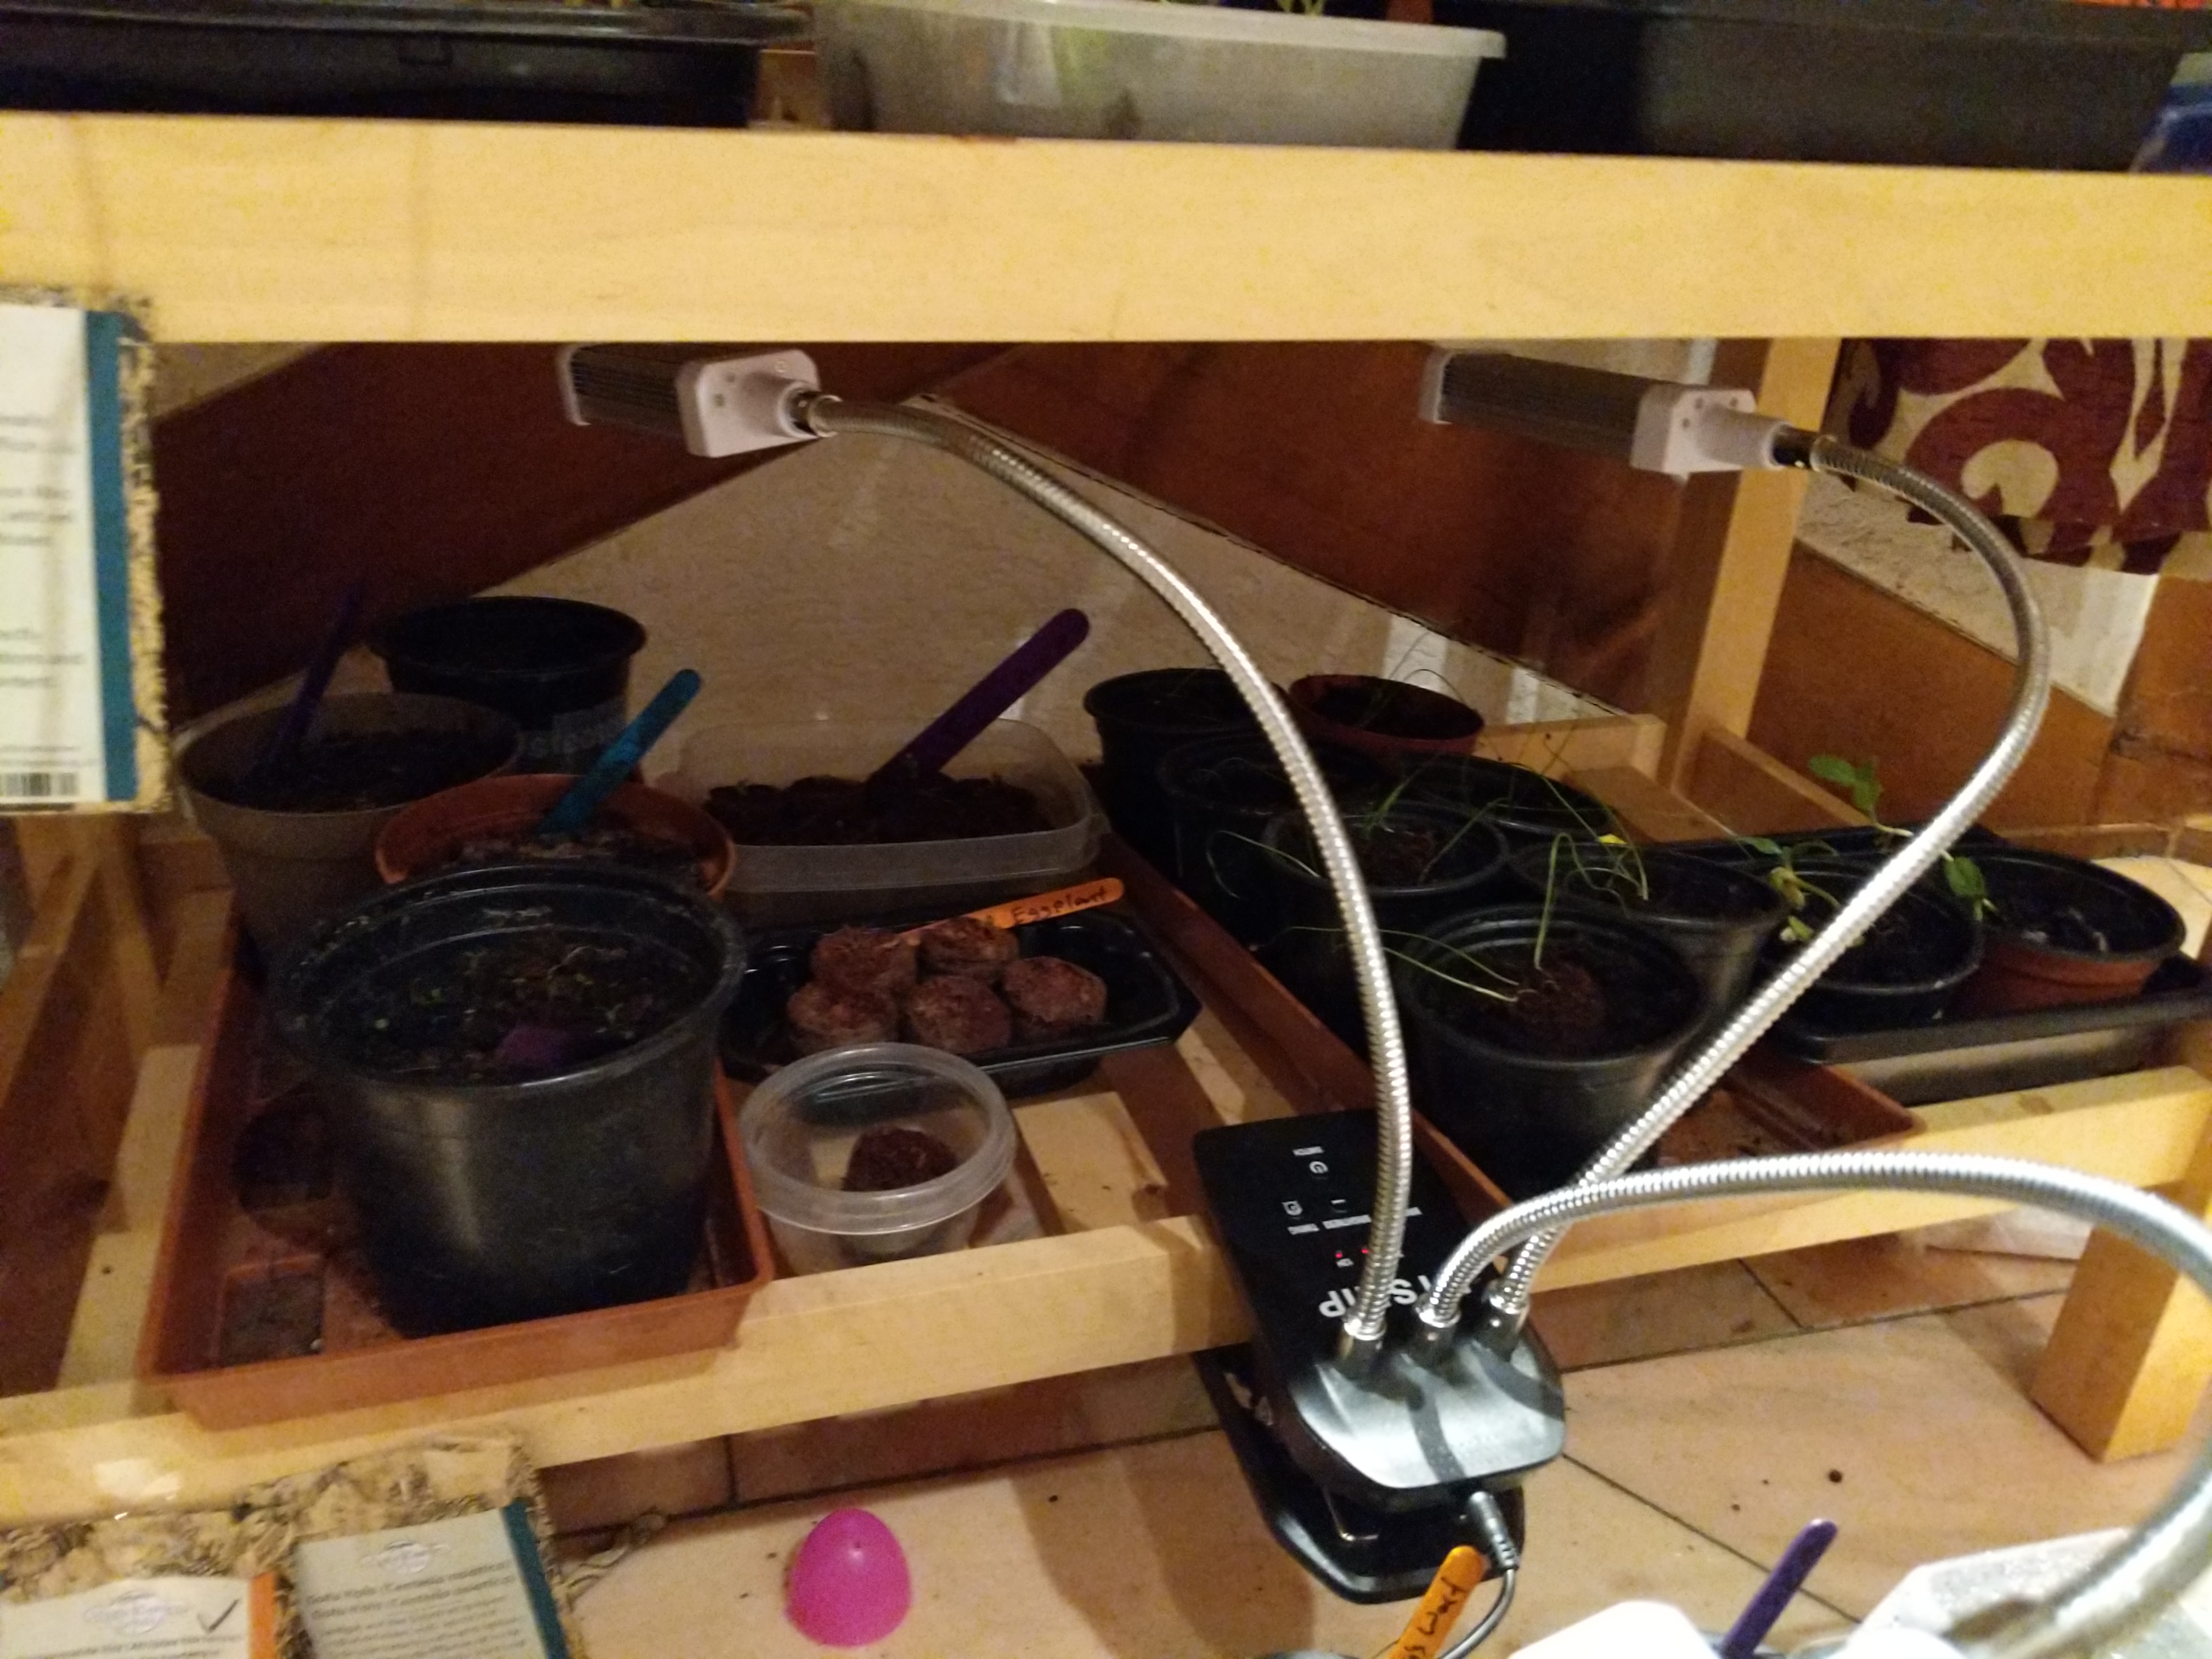
I started with a kitchen center stand that has two shelves and a slightly wider top surface, so I had plenty of ways to clip a light on the edges to adjust to the plants that were sprouting faster. (Some of them still haven’t sprouted, but many need light for germination, so I’m giving them more time.)
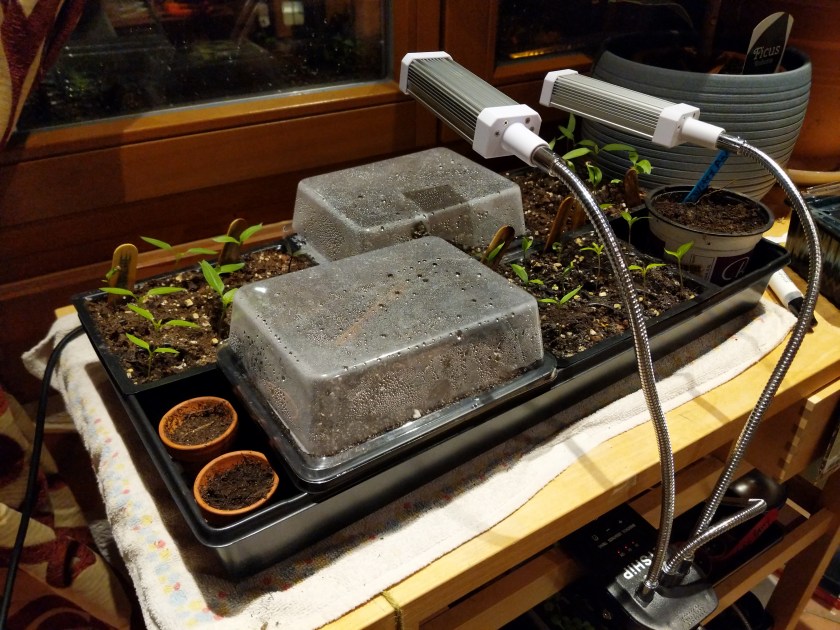
In the end, I purchased 3 grow lights from the links below. You can see pictures of my final setup at the end.
What I like best is that the 3 heads provide 72W lighting. I was tempted to buy a competitor product with 4 heads, but the it only had 40W.
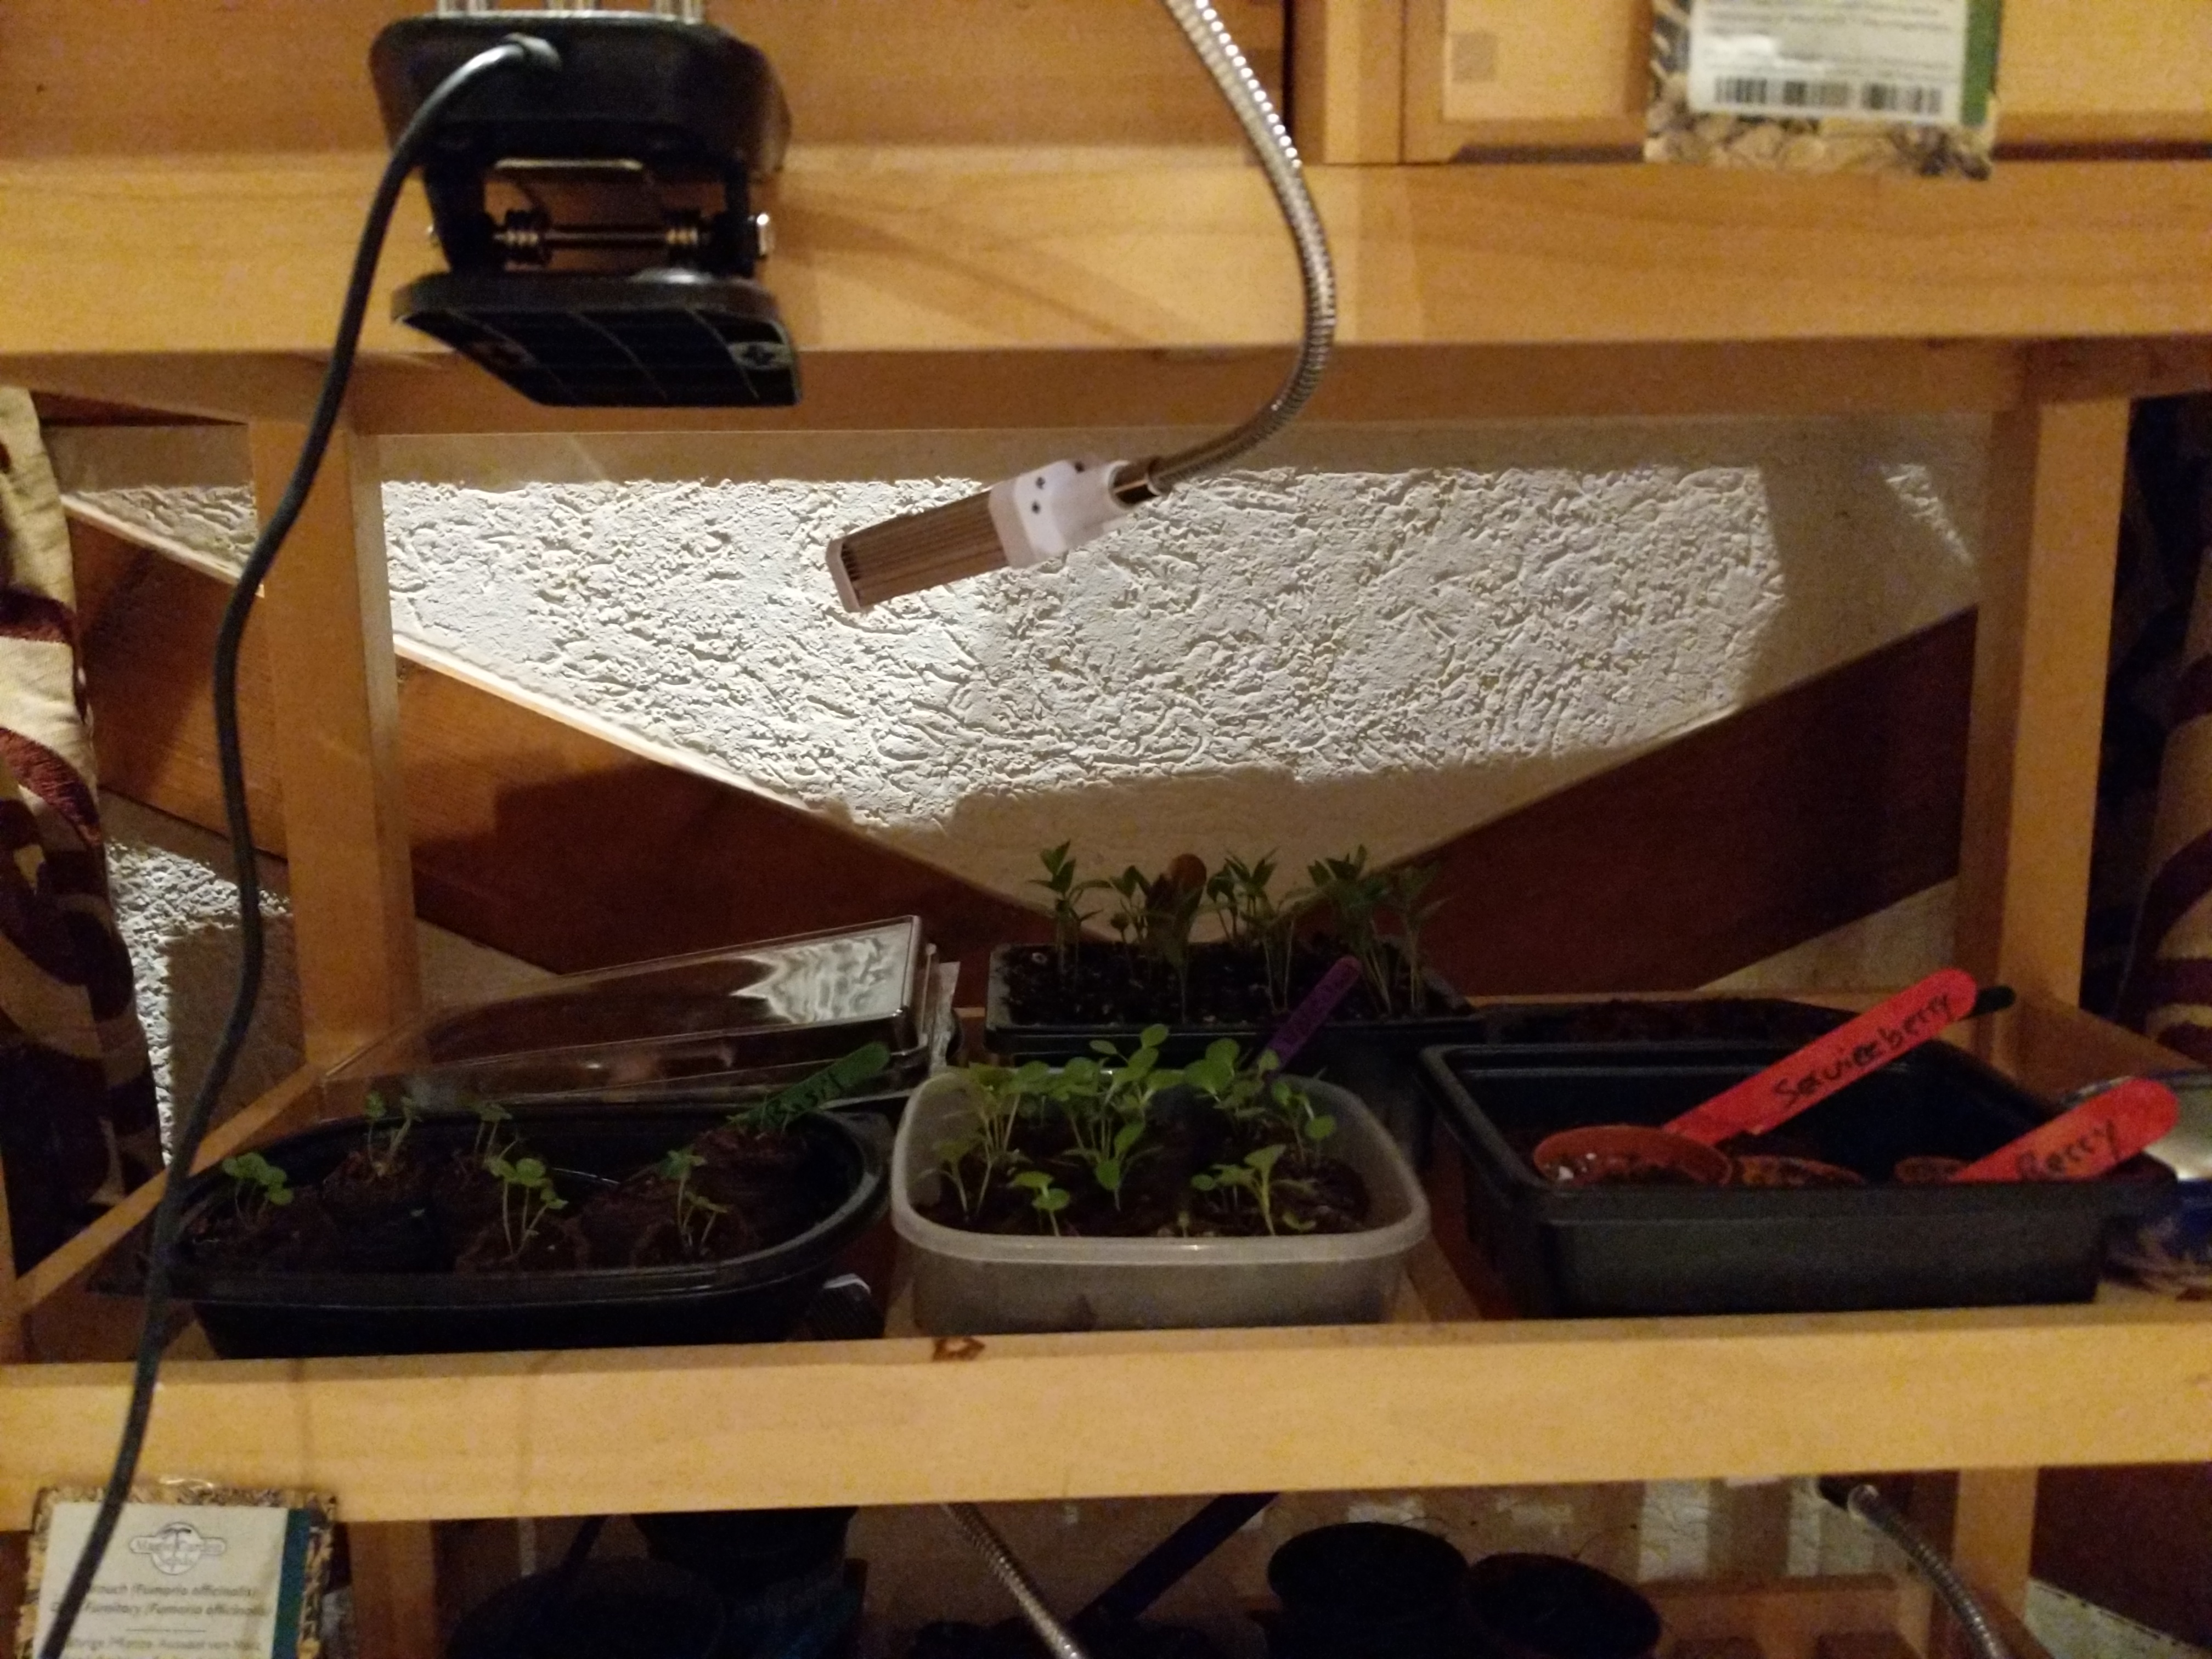
When I clipped them onto the table, it was very easy to move them around to put them in just the right spot for each plant. It is even possible for one light to shine on two different surfaces, with 1 on the top where there is already natural day light from the kitchen window, and 2 for the darker shelf below.
It was very important to find one that is dual-voltage, and while the ones below are compatible with 110/220V & 50/60 Hz, they come with different plugs. So choose what you need but be prepared to use an adapter if you swap continents.
It’s also important to have an auto-on / auto-off timer. The ones here can be adjusted to 3, 6, or 12 hours. I’m using 12 hours since there isn’t much sun in Winter right now.

One more thing!
In order to sprout some seeds, they have a higher germination temperature, which requires a heat mat.
With a hanging thermometer near the window, it averages 20C (~70F).
In order to grow peppers (yum!), I needed to get them between 25-28C (~80F).
First, I bought a heat mat that is 10 x 20 inches to fit on the top of my seed starting station. I chose this size based on the equipment I used for the seed tray, shown below.
The heat mat I got from Amazon.de is dual voltage. Unfortunately, the cheaper versionavailable on Amazon.com is not dual voltage, it only supports 110V. Next year, I may get a second one with an upgrade that allows you to set the temperature that you need.

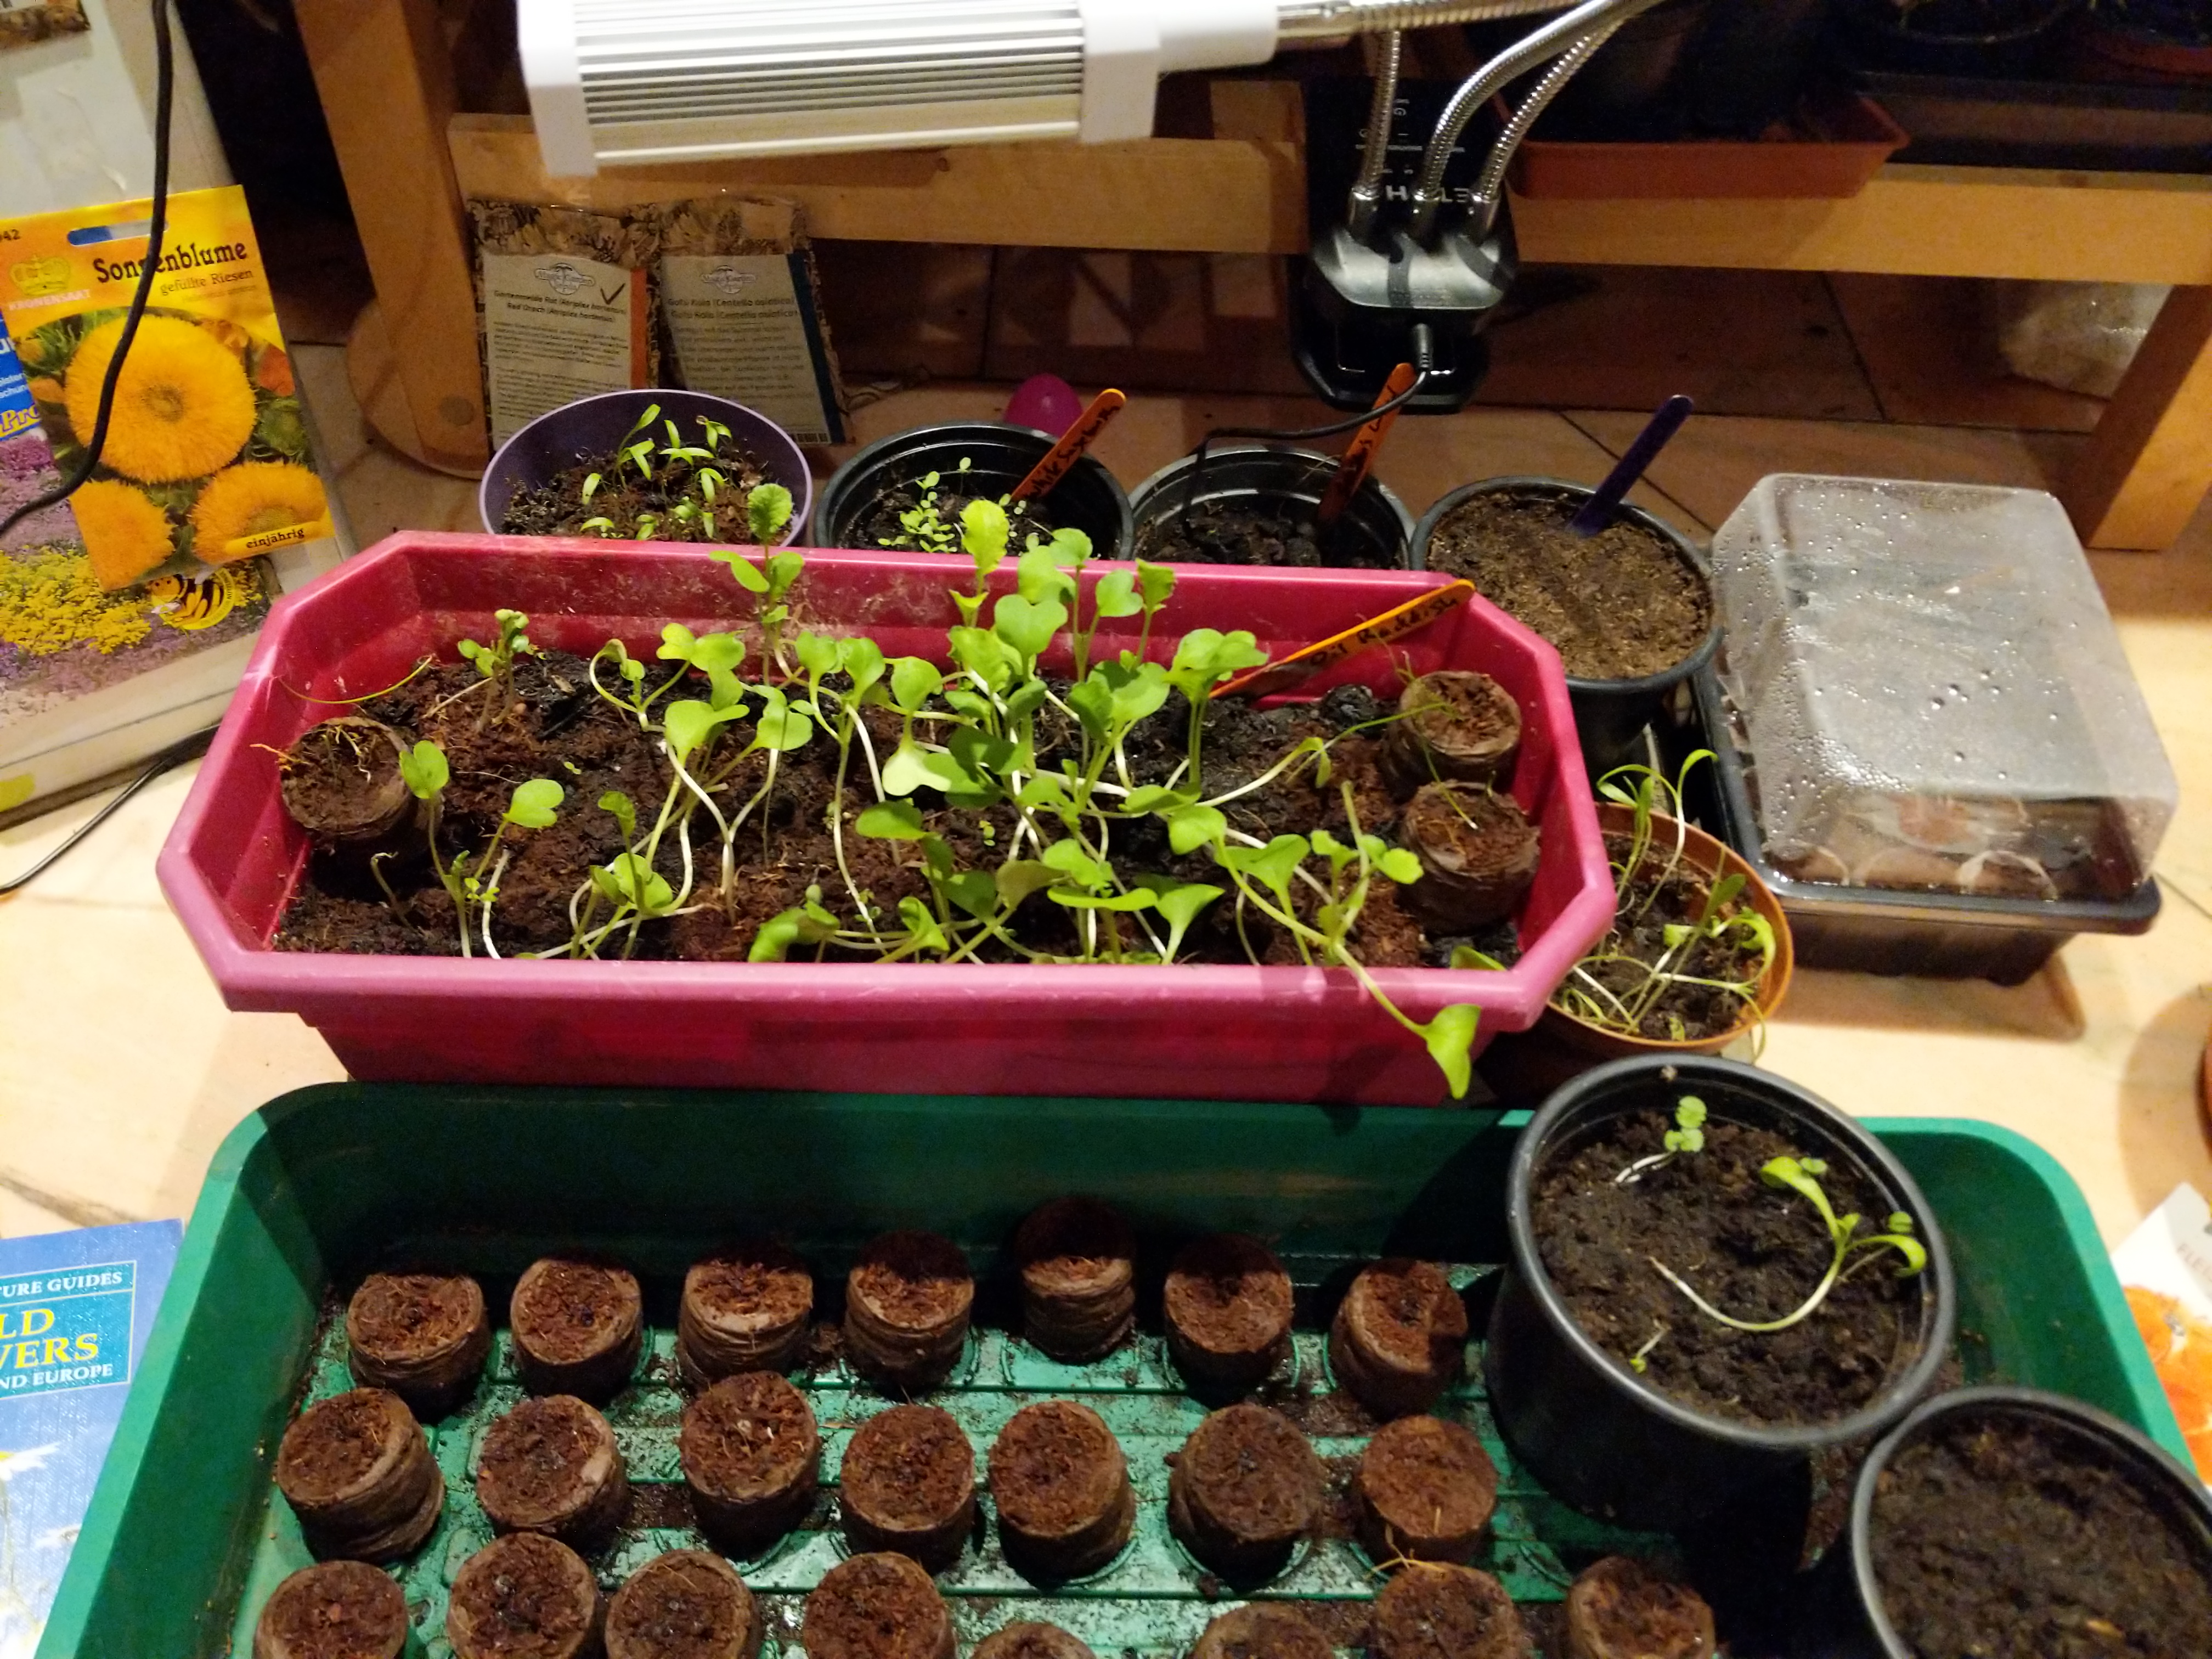
The final step was to get a good sized seed tray that would fit on the heat mat.
The one I bought from the Amazon.com site is 10 x 20 inches, fitting almost perfectly on the heat mat, the only downside is that the smallest pack size is 5, but would probably be worth it if you’re growing a lot. The one from Amazon.de is a few centimeters longer, but at least you don’t need to buy a full pack.

For plants that need higher humidity to germinate, it will be important to get a larger or smaller tray that comes with a cover.
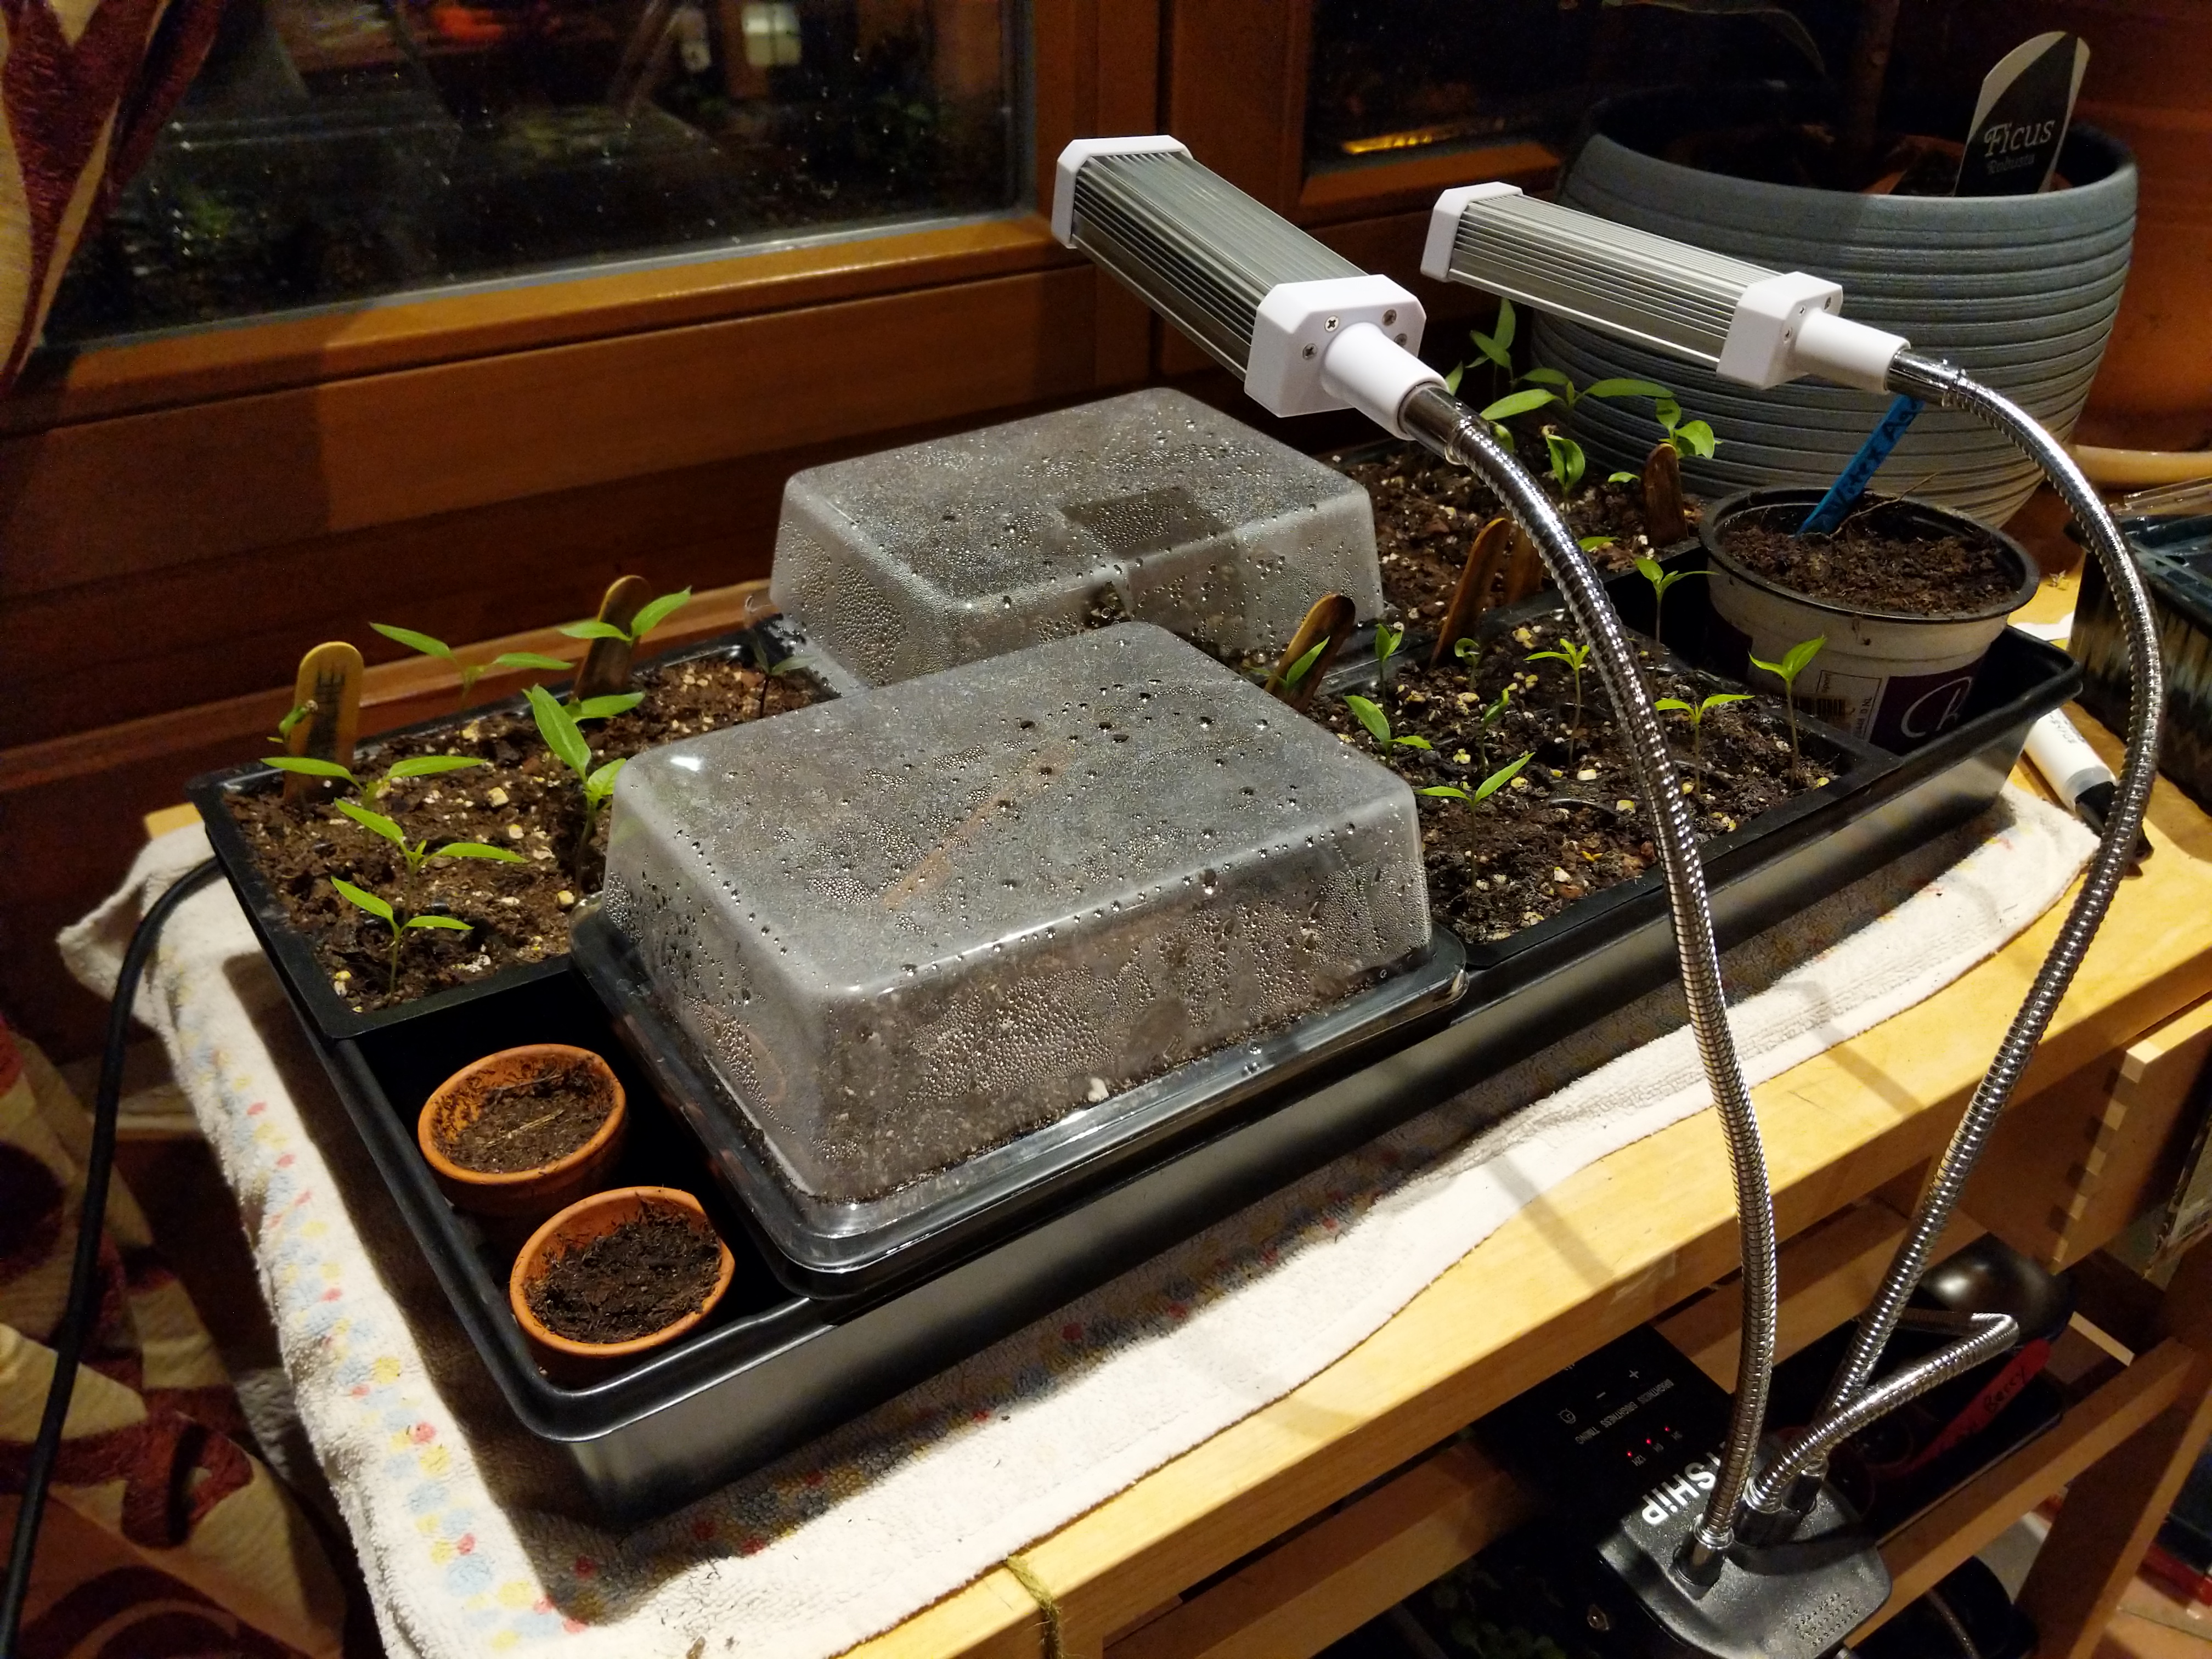
I bought a pack of 5 smaller trays from Amazon.de that came with covers so that I could keep track of different varieties of peppers. Right now, I’m growing European varieties such as: Hungarian Black, Hungarian Hot Wax Banana, Hungarian Red Round Pepper, Apache, Jalepenos, Italian peperones, and Habanero, so having separate bins (or splitting one bin for two plants) definitely made it easier to track!
I found that being able to move the smaller trays around was very important for peppers because the ones on the edge of the heat mat were not sprouting. When I rotated and turned the smaller bins around, I started to see the rest of the peppers popping up. –A great lesson learned in choosing a size for the heat mat and tray!
Here are the smaller bins that allow me to move and adjust:

Have Fun Starting your Seeds!